CANVAS — layer 2 of seven
From Roll to Frame: How Canvas Gets Stretched
The wooden frame is only the beginning. What happens next — in what order, with what pressure — determines whether the canvas lies flat for decades or bags within months.
Building the Tension: First Staples and the Pull Sequence
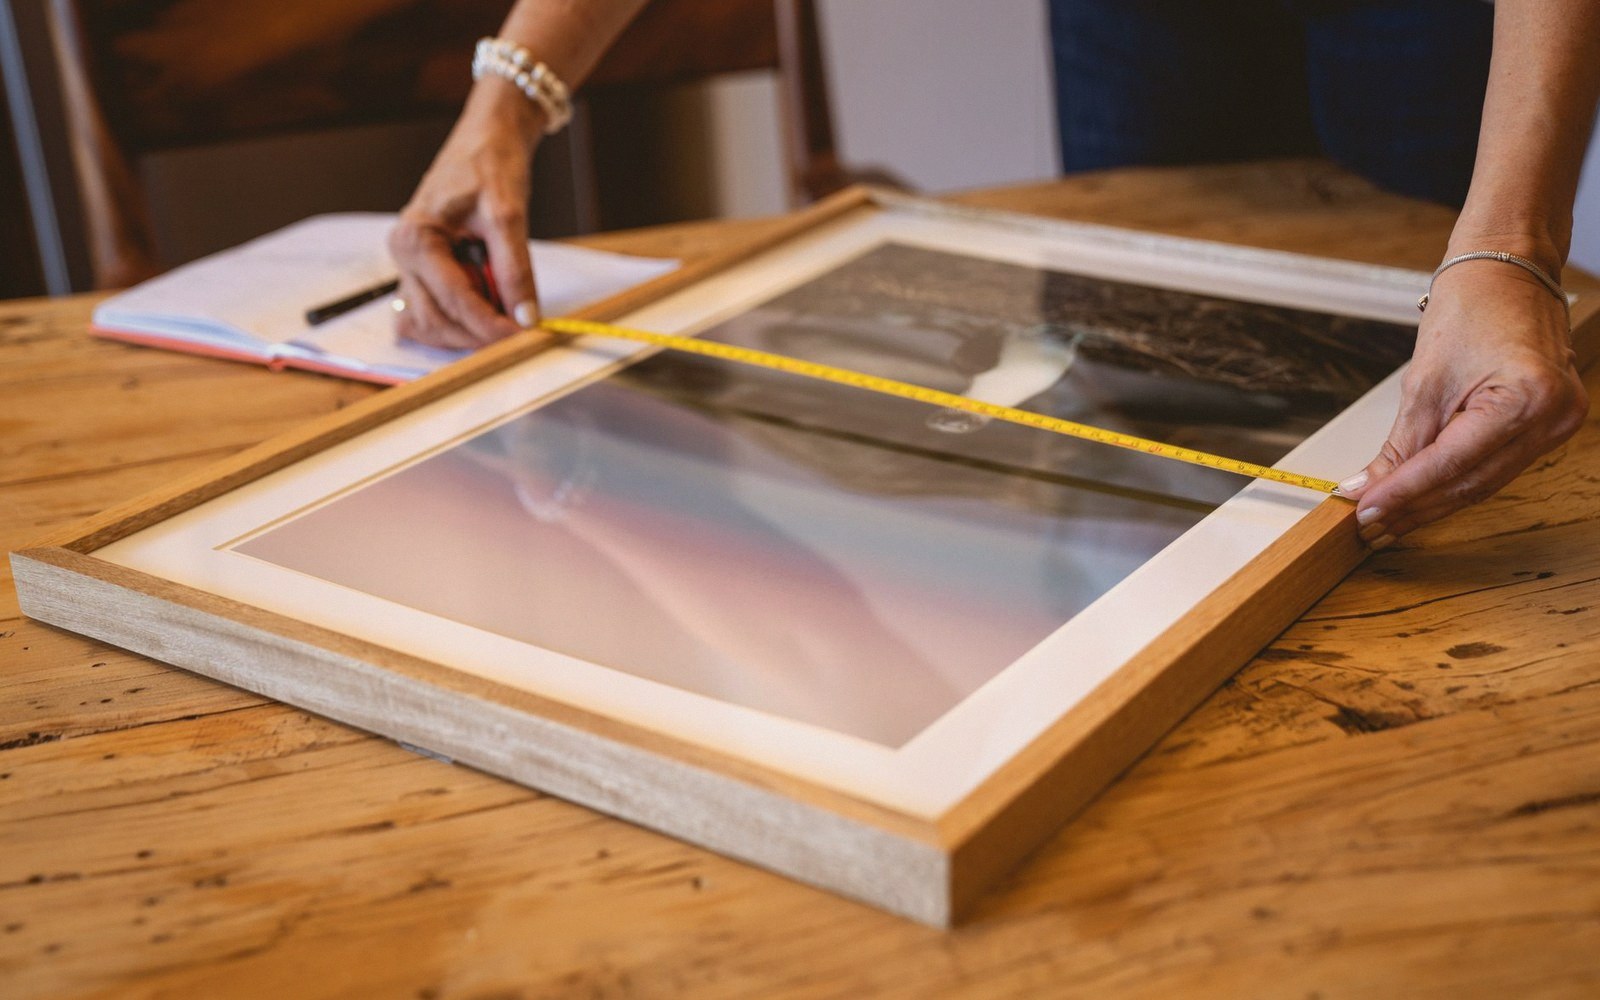
Start before the canvas is even cut. Lay the stretcher bars flat on a table and tap the corner joints together — they should fit snugly but not need forcing. Check the frame is square by measuring both diagonals: they must match. A frame that is even a few millimetres off-square will never be corrected by the canvas. Fix it now by pressing gently on the longer diagonal until both measurements agree.
Cut the canvas several centimetres larger than the frame on all four sides — roughly five to seven centimetres of overhang is enough to grip and fold. Lay the canvas face-down on a clean, flat surface. Centre the frame on top of it, bars facing down.
The first staple goes in the middle of one long side. Pull the canvas firmly over the edge of the bar — not savagely, just steady and even — and drive a staple into the back of the bar, not the outer edge. The back is the wide flat face you'll never see once the painting is hung. Drive the staple perpendicular to the bar's length; a staple running across the grain of the wood holds better and is less likely to spit out when the canvas is tightened later.
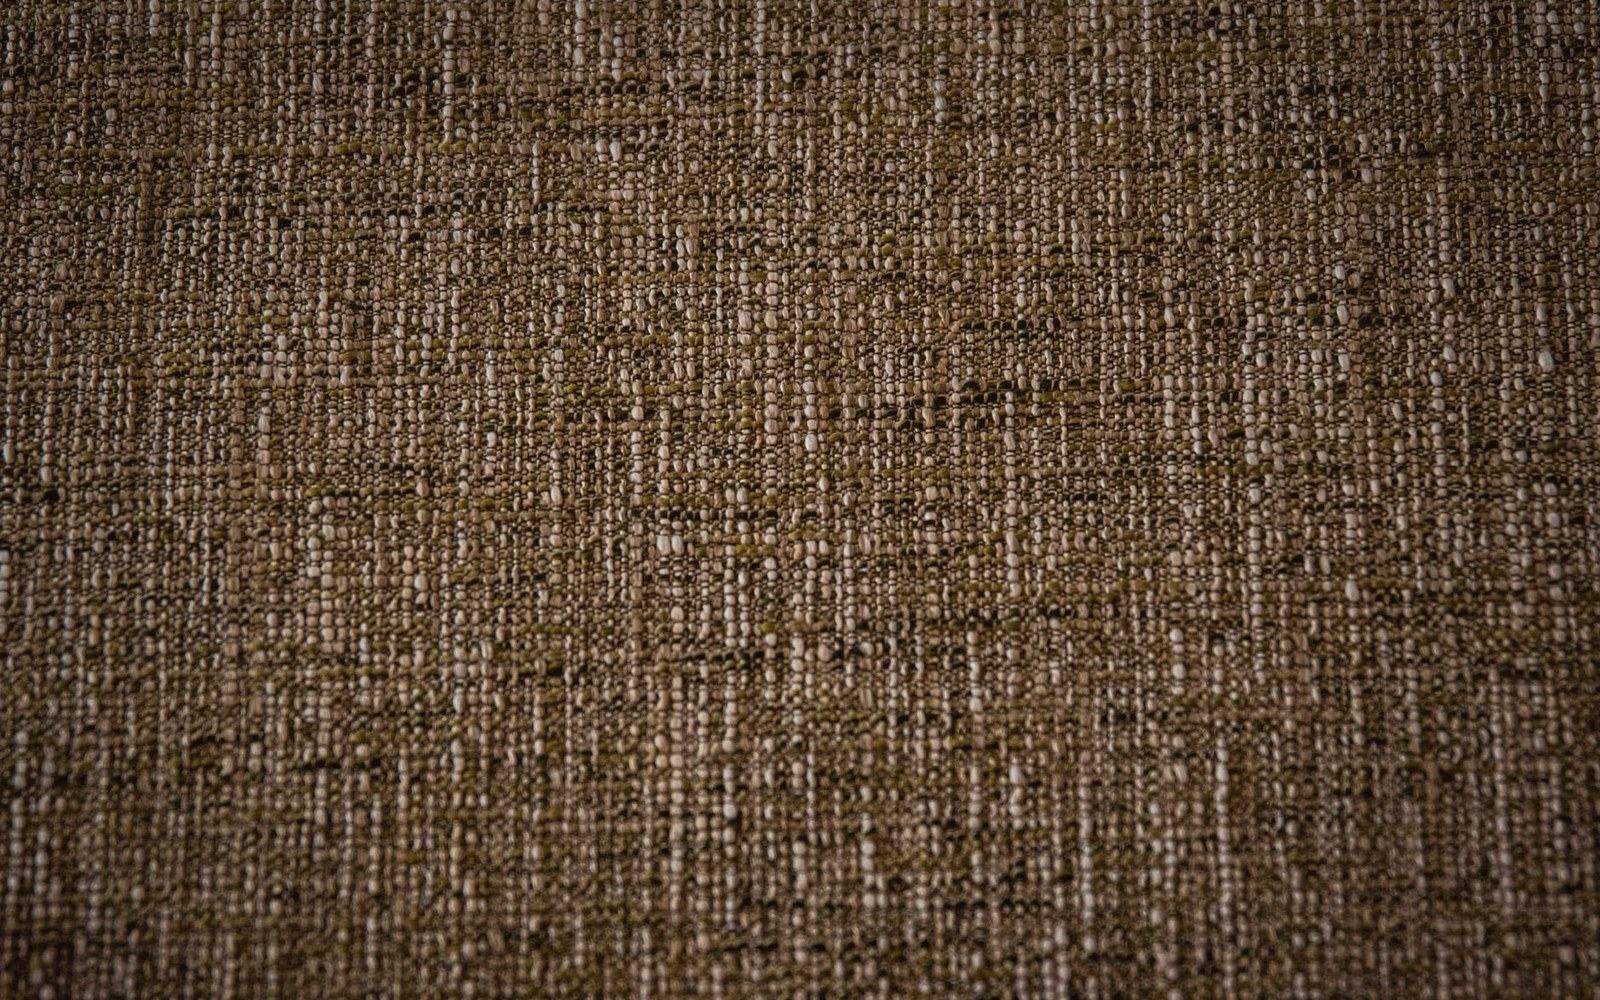
Immediately after that first staple, move to the middle of the opposite long side. Pull the canvas across — again, firm and even — and staple. Then the middle of one short side, then the middle of the other. You now have four staples, one at the centre of each side, and the canvas is held in rough alignment. This cross-pattern is the whole logic of stretching: you work in opposing pairs so tension builds symmetrically. Never run along one side from end to end — that drags the weave out of square and no amount of re-stretching corrects it.
The Second Pass and the Corner Problem
From the four central staples, work outward in pairs — two staples either side of the first on one bar, then two on the opposite bar, then the remaining two sides. Keep the intervals between staples roughly even, around five centimetres apart. Pull the canvas with the same consistent force each time; experienced stretchers develop a feel for it, a resistance in the canvas that is taut but not strained. The surface should feel drum-firm when you tap it lightly in the centre, but not so rigid that it cannot give slightly.
Stop a few centimetres short of each corner on this second pass. The corners are saved for last because they are the most geometrically complex part — and the most visible from the front if they go wrong.
Fold each corner carefully. There are several acceptable methods; the most common produces a flat, mitered fold. Pinch the corner point of the canvas and fold it directly onto the back of the bar at a right angle. Then fold each of the two side flaps in over it, one at a time, pressing the fabric flat so no ridge shows when the canvas is viewed from the front. Pull the whole corner tight and staple through all layers into the bar. A neat corner sits flat and shows no bunching at the edge when you look at the front face of the painting.
Once all staples are in and the corners are folded, stand the frame up and look at the front. The surface should be uniformly taut, the weave running straight horizontally and vertically. Any diagonal pull in the weave means tension is uneven — go back and adjust before the paint goes anywhere near it.
Most stretcher frames are built with a slight outward bevel on the inner edges, so the canvas only contacts the outermost lip of the bar rather than lying flat across the whole face. This matters: canvas touching a flat bar over a wide area tends to develop a visible ridge along the bar's inner edge, which ghosts through paint layers in time.
The frame also has corner wedges — small hardwood or plastic inserts in slots at each corner joint. Leave them barely tapped in during stretching. Once the canvas is painted and fully dry, keying out with those wedges is how you restore tension if the surface slackens.