STRETCHER — layer 1 of seven
Eight Taps with a Mallet
The small wooden wedges at the corners of a stretcher are the last line of defence against a slack canvas. Here is what they actually do.
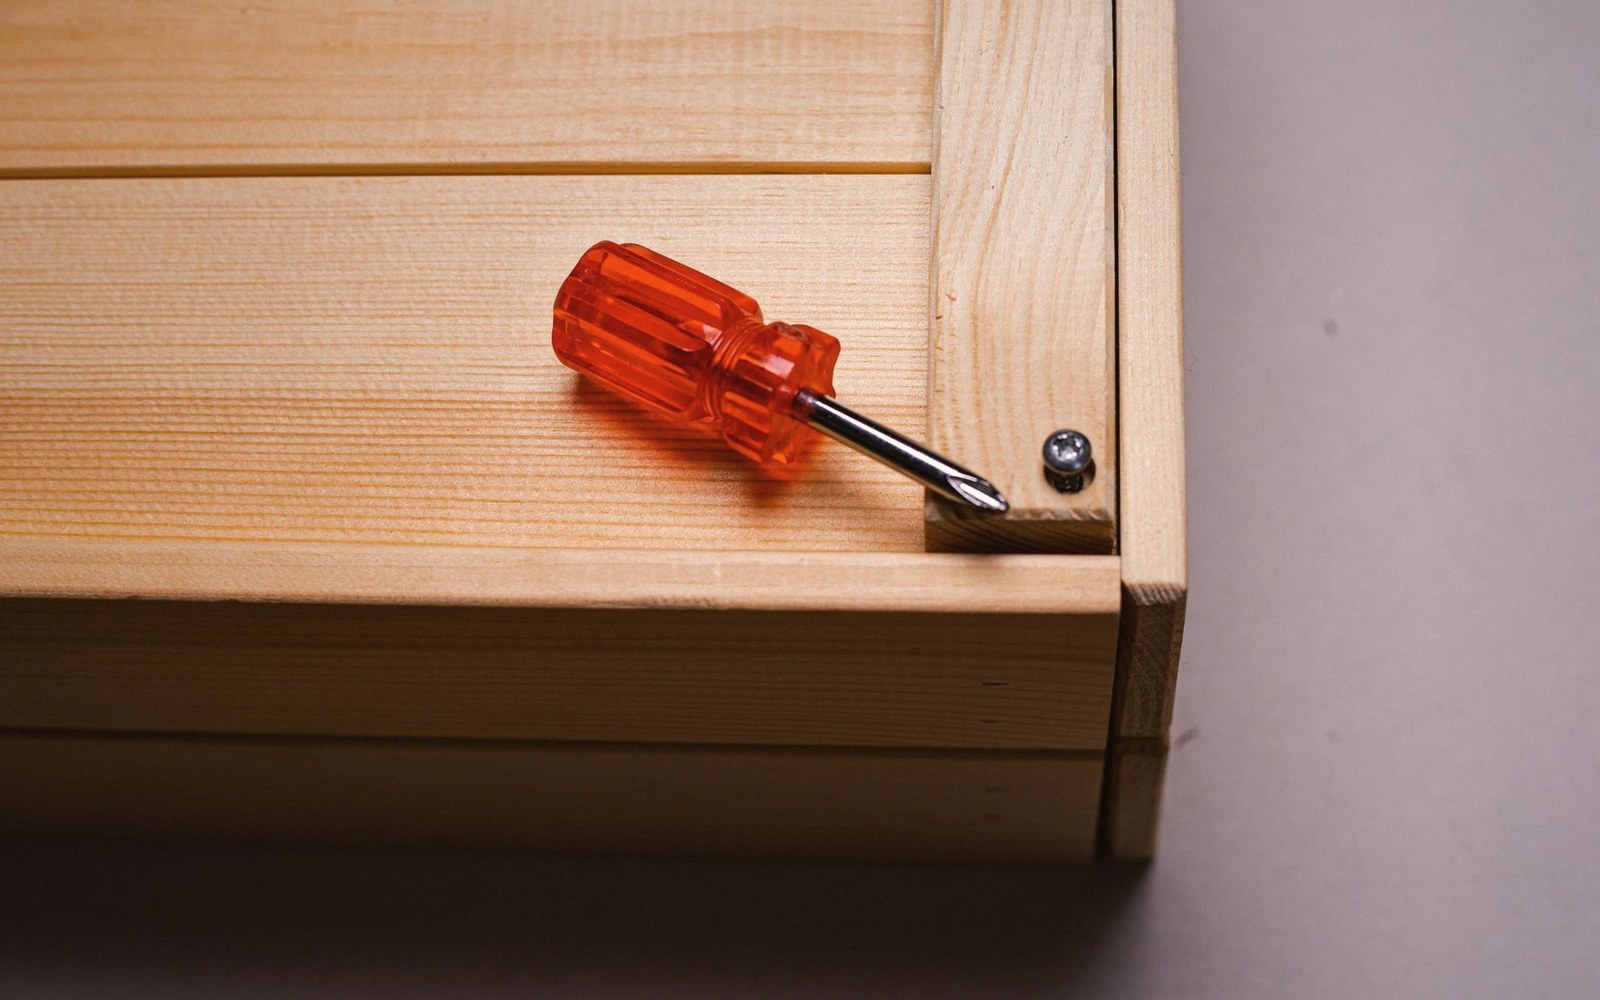
What the Wedges Are For
Look at the back of any stretched canvas and you will find, in each corner of the wooden frame, a small slot. Pressed into that slot — sometimes loose, sometimes forgotten — sits a wedge, usually about four centimetres long, cut from hardwood or dense MDF. Most canvases arrive with two wedges per corner, eight in total. Many painters never touch them. That is a mistake.
The stretcher bar is not a rigid rectangle. It is designed to expand. The corner joints are deliberately left un-glued, held only by friction and the pressure of the canvas above. When you drive a wedge deeper into its slot, it pushes the two bars of that corner fractionally apart — opening the joint by a millimetre or two at most. Do that to all four corners and the whole frame expands outward, pulling the canvas drum-tighter across the face. The wedges are a tensioning system, and they are already built into almost every stretcher you will ever handle.
The Right Amount of Tension
Slack canvas is visible even before you touch it. The surface catches light unevenly, pooling in soft depressions where the weave has sagged. Sometimes you can see it moving in a draught. Tap the face lightly with one knuckle: a slack canvas returns a dull, low thud, the sound of something loose.
What you are after is a higher, more resonant tap — not a drum-skin tightness, which risks tearing the canvas or cracking already-dry paint, but a firmness that suggests the weave is under even tension across the whole face. There is no torque wrench equivalent here, no number to hit. The test is acoustic and tactile, and it becomes reliable with practice.
Start at the corners. Hold the mallet — a rubber or wooden mallet, never a metal hammer — and tap each wedge pair in sequence: bottom-left, bottom-right, top-right, top-left. A single firm tap per wedge pair, working around the frame once, then checking. The reason you go around rather than fully tightening one corner before moving to the next is that tension distributes across the whole frame. Drive one corner hard and the opposite corner goes slack; the canvas pulls unevenly, which can introduce a bow into the bar rather than remove one.
Two passes around all four corners, checking the face between each pass. If the canvas is responding, you will hear the change — that rising resonance as the weave tightens. When the face sounds and feels even, stop.
When to Stop
This is the critical point: wedges can over-tighten. A canvas that is too taut puts enormous lateral stress on the stretcher joints and on the ground layer. Traditional gesso, being chalk-based and relatively brittle, is particularly vulnerable — over-tightening an already-painted canvas can propagate hairline cracks through a ground that was previously stable. Acrylic grounds are more forgiving, but the risk does not disappear.
Eight taps in total is not a rule; it is a useful ceiling to carry in your head. If the canvas is not responding after two full circuits, the problem may not be solvable with wedges alone. A severely slack canvas, or one on a bar that has already begun to warp, needs more than corner adjustment. But for the ordinary seasonal sag — the canvas that has relaxed over a humid summer — eight measured taps, spread evenly across the corners, is often exactly enough.